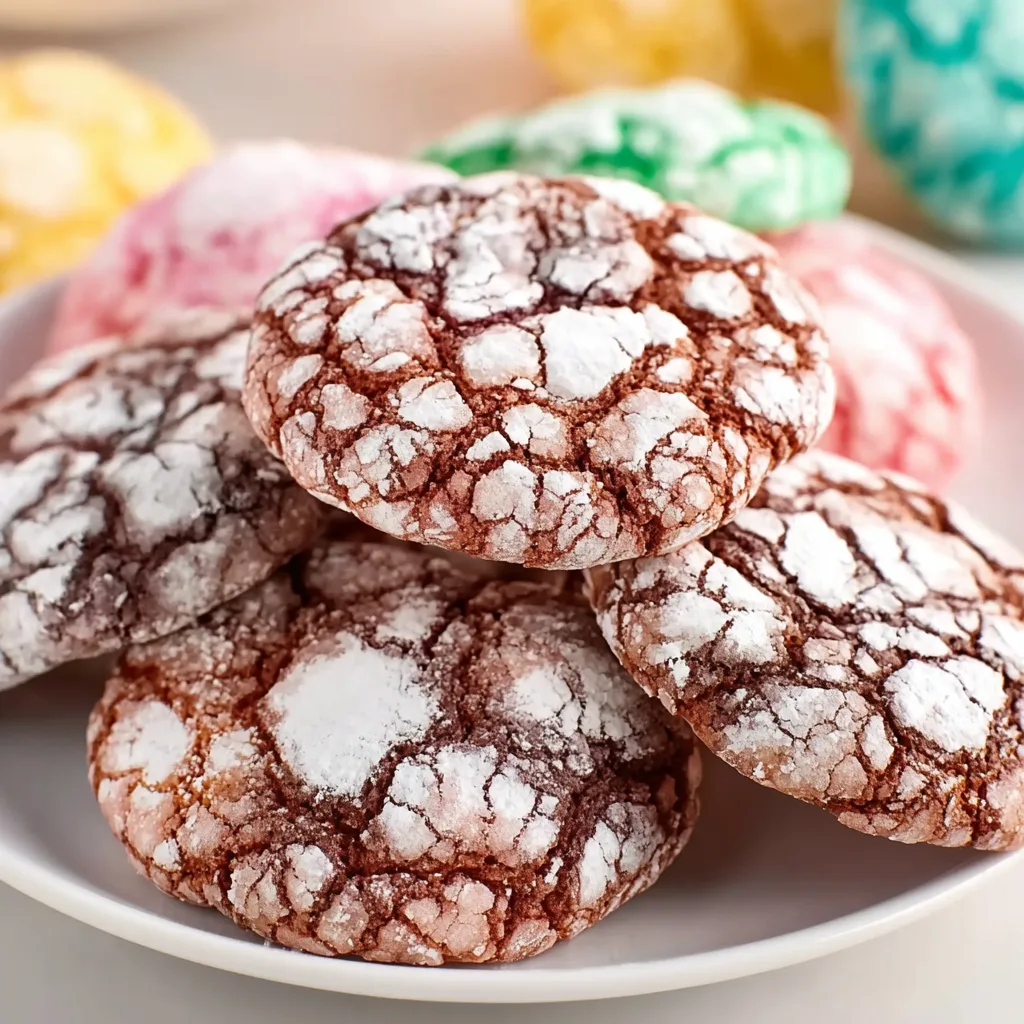
Colorful Springtime Crinkle Cookies for a Festive Treat
“Delight in vibrant Springtime Crinkle Cookies with just 9 ingredients. Perfectly soft, chewy, and ready in under 30 minutes for your spring gatherings.”
The first time I made Springtime Crinkle Cookies, my kitchen was filled with the sweet aroma of vanilla and citrus. My kids rushed in, drawn by the vibrant colors and sugary cracks on the surface, and soon enough, they were devouring them before they even cooled. It was one of those moments where I realized that the joy of baking transcends just the flavors; it’s about creating memories.
What sets my version of these cookies apart is the addition of fresh lemon zest and a hint of almond extract, giving them a unique brightness that others often miss. Trust me, the combination of flavors and textures makes every bite feel like a celebration of spring!
Why This Recipe Works
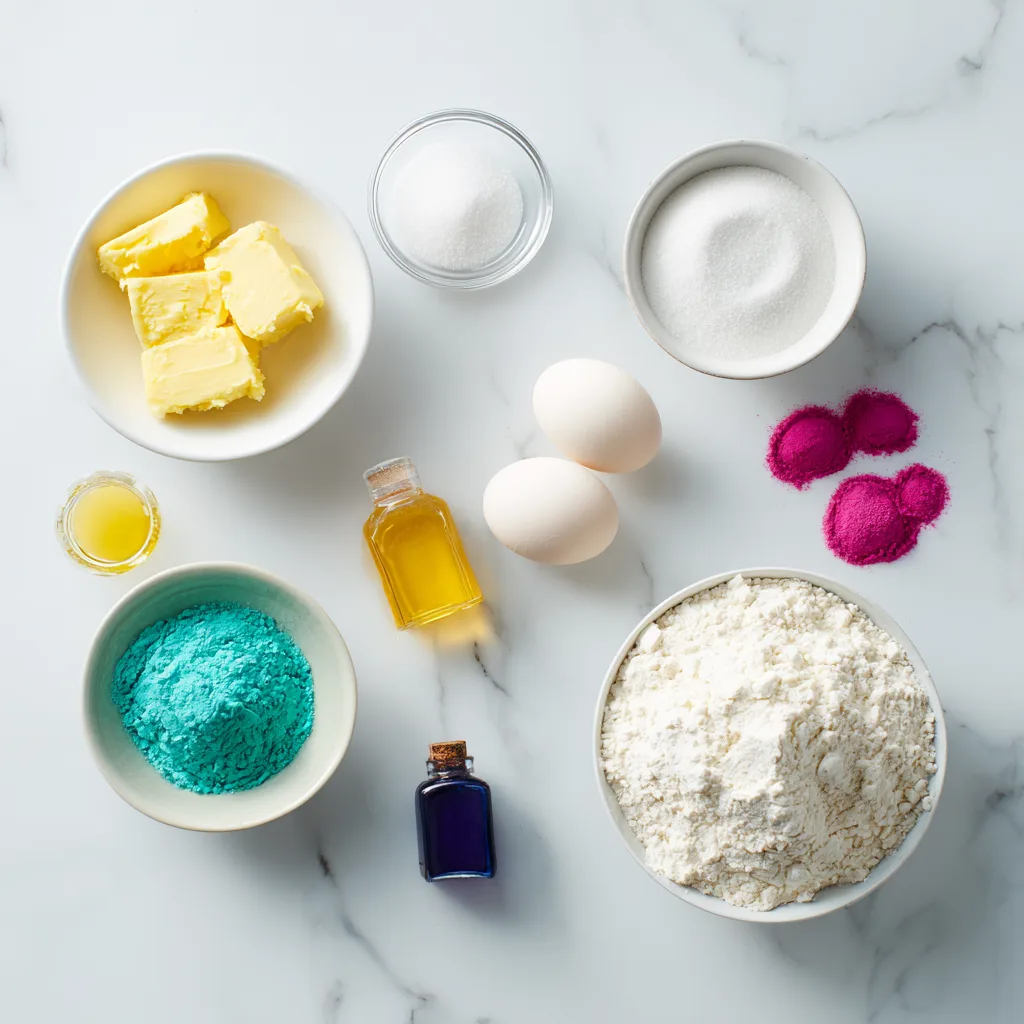
Ingredients
What You'll Need
- ½ cup unsalted butter, softenedmake sure it's at room temperature for easy creaming with sugar
- 1 cup granulated sugarcream with butter until light and fluffy for a pleasureful texture
- 2 large eggsadd one at a time to ensure proper mixing and emulsification
- 1 teaspoon vanilla extractadds a lovely warmth; optional: add ½ teaspoon almond extract for a nutty twist
- 2 cups all-purpose floursifted to lighten the texture and prevent clumps in your dough
- 1 ½ teaspoons baking powderensure it is not expired for the best rise in your cookies
- a pinch saltenhances flavor and balances the sweetness of the cookies
- powdered sugar for coatinggenerously coat the cookie balls for that signature crinkle look
- gel food coloringadd to achieve vibrant colors for your Springtime Crinkle Cookies
When shopping, look for fresh eggs and good-quality vanilla extract, as they really make a difference in flavor. The butter should be softened for easy mixing, which contributes to the cookies' tender texture. Fresh baking powder is crucial for achieving that lovely rise and crinkle effect.
Easy Substitutions
- Dairy-free: swap unsalted butter for coconut oil — your cookies will have a subtle coconut flavor and a slightly different texture, but they’ll still be delicious.
- Gluten-free: swap all-purpose flour for a gluten-free flour blend — the texture might be a bit denser, but the cookies will still bake up nicely.
- Egg-free: swap each egg for ¼ cup unsweetened applesauce — this will add moisture and a hint of sweetness, though the cookies may be slightly softer.
- Lower calorie: swap granulated sugar for a sugar substitute like erythritol — the sweetness remains, but the texture may be slightly less chewy.
How to Make This Recipe
Prep & Mix
Preheat your oven to 350°F (175°C) and line a baking sheet with parchment paper. This ensures your cookies bake evenly and don’t stick.
Cream together the softened butter and granulated sugar for 2-3 minutes until the mixture is light and fluffy. This creates air pockets that make your cookies tender and delightful.
Add eggs one at a time, mixing well after each addition. Then stir in both the vanilla and almond extracts. Each addition builds flavor and richness in your cookie dough.
In a separate bowl, whisk together the flour, baking powder, and salt. This step ensures your dry ingredients are evenly distributed, preventing any clumps.
Gradually incorporate the dry mixture into the wet ingredients until just combined. The dough should be thick and slightly sticky, indicating it's ready for the next step.
Divide the dough into several bowls based on the colors you want. Add gel food coloring to each bowl, mixing until you've achieved your desired shades. This is where the fun begins!
Cover the bowls and refrigerate for at least 30 minutes to firm up the dough. Chilling helps the cookies maintain their shape while baking.
Bake
Once chilled, scoop tablespoon-sized portions of dough and roll them into balls. This size ensures even baking and perfect bite-sized cookies.
Generously coat each ball with powdered sugar and place them on the lined baking sheet, leaving space between each cookie. The sugar creates that signature crinkle on top.
Bake for 10-12 minutes, until the tops puff up and crack. They should look slightly golden and soft in the center, which means they’ll be chewy.
Cool & Serve
Allow the cookies to cool on the baking sheet for a few minutes before transferring them to a wire rack. This step helps them set without falling apart.
Enjoy your Springtime Crinkle Cookies warm, savoring their chewy center and delightful crinkly tops. They’re perfect for sharing or indulging all by yourself!
Tips & Tricks
Coloring Your Dough with Care
When it comes to adding color to your Springtime Crinkle Cookies, less is often more. I recommend starting with just a few drops of food coloring, then mixing and checking the shade before adding more. You can always deepen the color, but it’s tough to lighten it once it’s in. This approach gives you more control over the final look and ensures your cookies have that beautiful, pastel vibe without being overly bright.
Avoiding Sticky Dough Dilemmas
Sometimes, cookie dough can get a bit sticky, making it hard to work with. If you find your dough is too tacky after mixing, don’t panic! Simply pop it in the fridge for about 20-30 minutes to firm up. This chilling time not only makes it easier to handle but also enhances the flavor as the ingredients meld together. Trust me; a little patience pays off in cookie perfection!
Pro Tips
Letting your cookie dough chill in the fridge for at least 30 minutes helps maintain the shape during baking. I learned this the hard way; my first batch spread too much and lost that lovely crinkle. Cold dough keeps those beautiful edges intact!
Opt for Dutch-processed cocoa for a richer flavor in your cookies. I switched to a premium brand, and the difference was night and day—deep, chocolatey goodness that had my friends coming back for seconds. Trust me; it’s worth the splurge.
Mix just until combined to keep your cookies tender. I once overmixed and ended up with a tougher texture. A gentle fold preserves that soft, chewy bite we all crave.
Adding a splash of almond or lemon extract can enhance the flavor profile beautifully. I stumbled upon this trick while trying to use up some leftover extract, and it gave my cookies a pleasureful twist. Just a little goes a long way!
Variations & Customizations
Flavor Twists
Lemon Zest Crinkle Cookies
Add the zest of 1 large lemon to the butter and sugar mixture. The result is a bright, tangy cookie that bursts with refreshing citrus flavor. The cookies will have a lovely yellow hue and a slightly chewy texture, making them perfect for springtime gatherings.
Chocolate Mint Crinkle Cookies
Mix in 1 tablespoon of peppermint extract and fold in ½ cup of dark chocolate chips after combining the wet ingredients. These cookies will have a rich, chocolatey flavor complemented by a cool minty finish. The combination is reminiscent of those classic mint chocolate treats!
Seasonal Versions
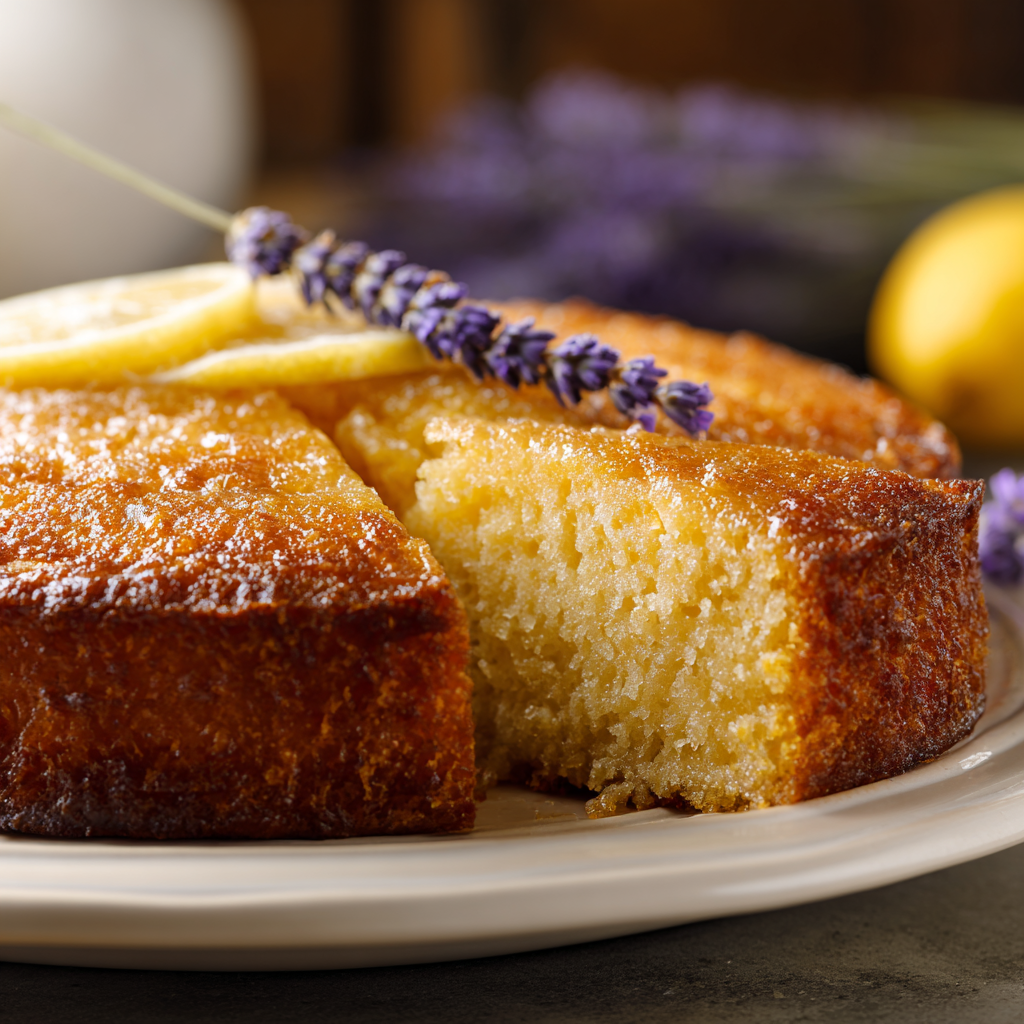
Lavender Honey Crinkle Cookies
Add 1 tablespoon of culinary lavender and substitute ½ cup of granulated sugar with ½ cup of honey. These cookies will have a delicate floral aroma and a subtle sweetness, creating a pleasureful spring treat that’s perfect for a garden party.
Chocolate Strawberry Crinkle Cookies
Add ½ cup of crushed freeze-dried strawberries to the dough and replace 2 tablespoons of flour with unsweetened cocoa powder. The result is a pleasureful combination of chocolate and fruity flavors, with a beautiful pinkish hue that’s both eye-catching and delicious.
Storage & Meal Prep
How to Store
Room Temperature
Store your Springtime Crinkle Cookies in an airtight container at room temperature for up to 5 days. This keeps them soft and chewy, just how we love them!
Refrigerator
If you want to keep them longer, you can refrigerate them for up to a week. Make sure they cool completely, then wrap each cookie individually in plastic wrap before placing them in a container to prevent moisture loss.
Freezer
These cookies freeze beautifully for up to 3 months. I recommend flash freezing them on a sheet pan first to keep their shape, then wrap each cookie in plastic wrap and store them in a freezer bag. When you're ready to enjoy, just let them thaw on the counter for about 30 minutes.
Remember, if you stack them while still warm, they'll get soggy on the bottom. So, let them cool completely before storing!
Meal Prep
For a successful batch, I suggest doubling the recipe—trust me, you’ll want extras! Prep them the night before or even on the weekend for easy treats during the week. Store in an airtight container and they’ll stay fresh for up to a week in the fridge. When reheating, pop them in the microwave for about 10-15 seconds for that fresh-baked feel.
Equipment You'll Need
Essential
Electric mixer: A stand mixer or handheld electric mixer makes creaming the butter and sugar easy. You want that light, fluffy texture for the best cookies, and a hand mixer can take longer and may not incorporate air as well. I prefer a stand mixer for the speed and consistency it offers.
Baking sheet: A heavy-duty baking sheet ensures even heat distribution, crucial for those perfectly puffed and crinkly cookies. Thin sheets can warp and lead to uneven baking. I always opt for a non-stick version, which helps with easy cleanup and prevents sticking.
Nice to Have
Cookie scoop: Using a cookie scoop helps achieve uniform sizes, which means even baking. While you can use your hands, it’s not as precise, and you might end up with some cookies that are overcooked or undercooked. Plus, it’s just fun to use!
Frequently Asked Questions
Can I use margarine instead of butter for Springtime Crinkle Cookies?
Yes, you can use margarine, but it may affect the texture and flavor. Cookies made with margarine can turn out a bit softer and less rich than those made with butter.
Why did my Springtime Crinkle Cookies come out flat?
Flat cookies often result from overmixing the dough or not properly chilling it before baking. Make sure to follow the chilling instructions closely for a thicker cookie.
Can I make these cookies gluten-free?
Absolutely! You can substitute regular flour with a gluten-free all-purpose blend. Just ensure it contains xanthan gum for the best texture.
How can I add more flavor to my Springtime Crinkle Cookies?
Adding spices like cinnamon or nutmeg can really enhance the flavor. You might also consider incorporating vanilla extract or almond extract for an extra layer of taste.
How long can I keep my Springtime Crinkle Cookies fresh?
These cookies can stay fresh for about a week at room temperature in an airtight container. For longer storage, consider freezing them for up to three months.
These Springtime Crinkle Cookies bring a touch of joy to any gathering, with their vibrant colors and soft, chewy texture making them a favorite of everyone who tries them. For an extra touch, sprinkle a bit of sea salt on top right before baking — it really enhances the sweetness. I can’t wait to hear how yours turn out, so drop a comment or share your creations on Pinterest!
Springtime Crinkle Cookies
These colorful Springtime Crinkle Cookies are a festive treat that will brighten up any occasion with their chewy center and crinkly tops.
checklist Ingredients
- ½ cup unsalted butter
- 1 cup granulated sugar
- 2 large eggs
- 1 teaspoon vanilla extract
- 2 cups all-purpose flour
- 1 ½ teaspoons baking powder
- a pinch salt
- powdered sugar
- gel food coloring
- coconut oil
- gluten-free flour blend
- ¼ cup unsweetened applesauce
- erythritol
menu_book Instructions
- 1
Preheat the oven to 350°F (175°C) and line a baking sheet with parchment paper.
- 2
In a mixing bowl, cream together the softened butter and granulated sugar for 2-3 minutes until light and fluffy.
- 3
Add eggs one at a time, mixing well after each addition.
- 4
Stir in the vanilla extract and optional almond extract.
- 5
In a separate bowl, whisk together flour, baking powder, and salt.
- 6
Gradually incorporate the dry ingredients into the wet mixture until just combined.
- 7
Divide the dough into several bowls based on the colors you wish to create.
- 8
Add gel food coloring to each bowl and mix until the desired shades are achieved.
- 9
Cover the bowls and refrigerate for at least 30 minutes to firm up the dough.
- 10
Once chilled, scoop tablespoon-sized portions of dough and roll them into balls.
- 11
Generously coat each ball with powdered sugar and place them on the lined baking sheet, leaving space between each cookie.
- 12
Bake for 10-12 minutes, keeping an eye on them as they puff up and crack.
- 13
Allow cookies to cool on the baking sheet for a few minutes before transferring to a wire rack.
- 14
Enjoy the cookies warm, and savor their chewy center and crinkly tops.
monitoring Nutrition Facts (per serving)
Ratings & Reviews
Be the first to review this recipe!