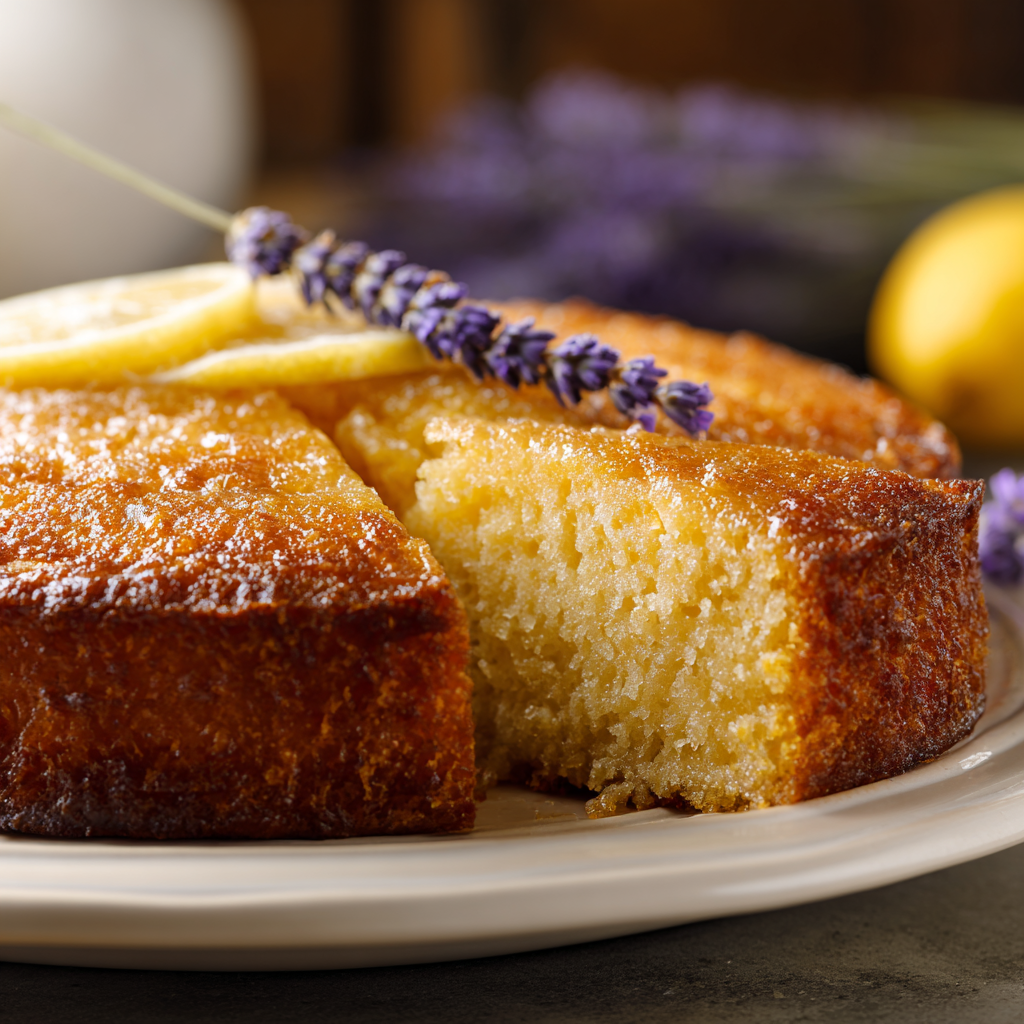
Decadent Chocolate Chip Scones Recipe for Any Occasion

“Indulge in these delightful Chocolate Chip Scones, ready in just 25 minutes. Perfect for breakfast or dessert, they feature rich chocolate chips and buttery goodness.”
The first time I made Chocolate Chip Scones, I was captivated by the way the sweet aroma filled my kitchen, instantly lifting my spirits. There's something about the combination of buttery, flaky layers and gooey chocolate that feels like a warm hug on a chilly morning.
What sets this recipe apart is the hint of vanilla and the careful method I developed for achieving that perfect texture — crisp on the outside, tender on the inside. Trust me, once you try these scones, they’ll become your go-to treat for any occasion.
Why This Recipe Works
Ingredients
What You'll Need
- 2 cups all-purpose flourUse a good quality flour for the best texture; I prefer organic when possible.
- 1/3 cup granulated sugarThis adds sweetness and helps with browning; you can adjust it based on your sweetness preference.
- 1/2 teaspoon saltA little salt enhances the flavors; don’t skip it!
- 1 tablespoon baking powderThis is essential for a nice rise. Make sure it’s fresh for the best results.
- 1/2 cup (1 stick) unsalted butter (grated and very cold or frozen)Cold butter is key; it creates those flaky layers you want in scones.
- 1/2 cup buttermilk or heavy cream (plus more for brushing on top)Buttermilk gives a slight tang, while cream makes it richer.
- 1 large eggThis helps bind the scones together and adds richness.
- 2 teaspoons vanilla extractUse pure vanilla extract for the best flavor; it truly makes a difference.
- 1 cup chocolate chipsGo for semi-sweet or dark chocolate for a nice balance of sweetness.
- 1 cup powdered sugarThis is for the glaze; it adds sweetness and a lovely finish.
- 1 to 2 tablespoons milk (or water)This thins out the glaze to your desired consistency.
- 1 1/2 teaspoons vanilla extractThis is for the glaze; it enhances the overall flavor.
When shopping, I always recommend checking your pantry first for staples like flour and sugar. For chocolate chips, I love Ghirardelli for their rich flavor. And if you can find it, grab some high-quality vanilla extract; it’s worth the extra couple of bucks!
Easy Substitutions
- Dairy-free: Swap buttermilk with a non-dairy milk mixed with a splash of vinegar for tang. The texture may be slightly different, but it will still be delicious.
- Gluten-free: Use a gluten-free all-purpose flour blend. The scones might be a bit denser, but still enjoyable.

How to Make This Recipe
Preparing the Dough
In a large bowl, combine the flour, sugar, salt, and baking powder. Whisk them together until they're well mixed—this helps evenly distribute the leavening agents for a fluffy scone. The mixture should look like soft, powdery sand.
Next, cut in the cold butter using a pastry blender or your fingers. You want the texture to resemble coarse crumbs, with some pea-sized pieces of butter remaining. This step is crucial because the bits of butter create flaky layers when baked, and you'll notice a buttery aroma filling your kitchen.
In a separate small bowl, whisk together the egg, buttermilk, and vanilla extract. The mixture should be smooth and slightly frothy. Pour this into the dry ingredients along with the chocolate chips, and stir until just combined. If your dough looks too dry, add a splash more buttermilk; it should hold together but not be sticky.
Shaping and Baking
Lightly dust your counter or a piece of parchment paper with flour. Turn the dough out onto the surface and gently press it into an 8-inch circle, about ¾ inch thick. This is where the magic happens, as you can see the dough come together. Brush the top with more buttermilk—it gives the scones a lovely golden finish.
Using a sharp knife, cut the circle into 8 wedges. Carefully separate the triangles and place them on a baking sheet lined with parchment paper, leaving space between each for expansion. They should look like little pizza slices, ready for the oven.
Chill the scones in the refrigerator for about 20 minutes. While they chill, preheat your oven to 400°F. This helps them maintain their shape while baking. The anticipation builds as you can almost smell the chocolate already!
Bake the scones for 20 to 25 minutes or until they turn a golden brown. As they bake, you’ll hear a gentle crackling and smell the warm chocolate mingling with buttery goodness. Once done, remove them from the oven and let them cool slightly on a wire rack.
Finishing Touches
For the glaze, whisk together powdered sugar, milk, and vanilla extract in a small bowl until smooth. Drizzle this mixture generously over the warm scones. The glaze adds a lovely sweetness that complements the chocolate perfectly—so good!
Serve your Chocolate Chip Scones warm, or let them cool completely and store in an airtight container for up to 3 days. Either way, you’ll find they’re a perfect treat with morning coffee or an afternoon snack!
Tips & Tricks
Chill Your Ingredients
For the best Chocolate Chip Scones, make sure your butter and buttermilk are really cold. I once made the mistake of using room temperature butter, and the scones turned out flatter than I hoped. Chilling the butter keeps the scones nice and fluffy as they bake, giving you that delightful texture we all love.
Don’t Overwork the Dough
When mixing your dough, it's important to handle it gently. Overworking can lead to tough scones, and nobody wants that! I learned this the hard way after my first batch turned out more like biscuits than scones. Just mix until everything is combined—it's okay if there are a few lumps!
Experiment with Mix-Ins
Feel free to get creative with your scones! While chocolate chips are classic, I’ve had fantastic results adding dried fruit like cranberries or even nuts for a little crunch. Play around with flavors; you might find a new favorite combination that takes your Chocolate Chip Scones to a whole new level!
Pro Tips
After mixing your dough, give it a quick chill in the fridge before cutting it into wedges. This helps the butter firm up again, resulting in scones that are flaky and light instead of dense. Trust me, it makes a noticeable difference!
Opt for high-quality chocolate chips or chunks for your scones. The richer the chocolate, the more flavor it brings. I’ve found that semi-sweet or dark chocolate adds a wonderful depth that pairs perfectly with the buttery scone base.
When combining the wet and dry ingredients, mix just until everything comes together. Overmixing can lead to tough scones. You want a tender crumb, so be gentle and let the dough be a little shaggy!
Variations & Customizations
Flavor Twists
Cinnamon Chip Scones
Replace the chocolate chips with 1 cup of cinnamon chips and add 1 teaspoon of ground cinnamon to the flour mixture. These scones will have a warm, cozy aroma and a sweet, spiced flavor that’s perfect for chilly mornings.
Maple Pecan Scones
Substitute 1/2 cup of the sugar with 1/3 cup of maple syrup and add 1/2 cup of chopped pecans. The result is a pleasureful nutty taste with a hint of maple sweetness, creating a lovely golden-brown scone that’s sure to impress.
Seasonal Versions
Pumpkin Chocolate Chip Scones
In place of the buttermilk, use 1/2 cup of canned pumpkin puree and reduce the flour to 1 3/4 cups. Add 1 teaspoon of pumpkin pie spice for a delicious fall-inspired treat. These scones will have a beautiful orange hue and a moist, tender crumb.
Cherry Almond Scones
Swap the chocolate chips for 1 cup of dried cherries and add 1 teaspoon of almond extract in place of vanilla. The result is a lovely tartness from the cherries paired with a sweet almond flavor, making these scones a fruity delight.
Storage & Meal Prep
How to Store
Room Temperature
Keep your Chocolate Chip Scones in an airtight container at room temperature for up to two days. If you leave them out too long, they can become dry and lose that wonderful buttery texture we all love.
Refrigerator
If you need to store them longer, pop them in the fridge in a sealed container for about a week. Just make sure they’re completely cool before sealing them up to prevent moisture buildup, which can lead to sogginess.
Freezer
You can freeze Chocolate Chip Scones for up to three months. Wrap each scone tightly in plastic wrap and then place them in a freezer-safe bag. When you’re ready to enjoy, let them thaw in the fridge overnight or pop them in a 350°F oven for about 10-15 minutes until warm.
Meal Prep
I like to make a big batch of these scones on the weekend and freeze them for busy mornings. Just freeze in batches of four or five, and store them in a labeled freezer bag. Reheat directly from the freezer for 15-20 minutes in a 350°F oven for that fresh-baked feel!
Equipment You'll Need
Essential
Mixing Bowl
A sturdy mixing bowl is crucial for combining your dry ingredients. A larger bowl helps prevent spills as you whisk and mix, while a glass bowl allows you to see the texture of the dough, making it easier to gauge when it’s just right.
Pastry Blender or Your Hands
This tool is key for cutting butter into the flour mixture. A pastry blender yields a uniform crumb more quickly, while your hands allow you to feel the texture and ensure you don’t overwork the dough.
Nice to Have
Silicone Baking Mat
Using a silicone mat provides a non-stick surface that helps with even baking and prevents sticking, making it easier to transfer the scones without losing their shape.
Frequently Asked Questions
Can I use whole wheat flour for Chocolate Chip Scones?
Yes, you can substitute whole wheat flour for half of the all-purpose flour. This will give your scones a nuttier flavor and denser texture, but be careful not to overmix the dough to keep them light.
How do I prevent my scones from being too dry?
To keep your scones moist, avoid overbaking them. Check for doneness a few minutes early; they should be lightly golden and firm to the touch but not hard.
Why did my Chocolate Chip Scones spread too much?
If your scones spread, it could be due to soft butter or overmixing the dough. Make sure to chill your dough and use very cold butter to help maintain their shape while baking.
Can I freeze Chocolate Chip Scones before baking?
Absolutely! You can freeze the shaped scones on a baking sheet, then transfer them to a freezer bag. Bake them straight from the freezer, adding a few extra minutes to the baking time.
What can I use instead of chocolate chips?
You can use dried fruits like cranberries or apricots, or even nuts for added crunch. Experimenting with flavors like cinnamon or lemon zest can also create a delicious twist!
These Chocolate Chip Scones are a pleasureful way to brighten your morning, with their buttery texture and rich chocolate bits melting in your mouth. For a little extra flair, drizzle them with a simple glaze before serving.
Give this recipe a try, and don't forget to share your thoughts in the comments or pin it for later!

checklist Ingredients
- 2 cups all-purpose flour
- 1/3 cup granulated sugar
- 1/2 teaspoon salt
- 1 tablespoon baking powder
- 1/2 cup unsalted butter (grated and very cold or frozen)
- 1/2 cup buttermilk or heavy cream
- 1 large egg
- 2 teaspoons vanilla extract
- 1 cup chocolate chips
- 1 cup powdered sugar
- 1 to 2 tablespoons milk or water
- 1 1/2 teaspoons vanilla extract
- 0 notes Dairy-free option
- 0 notes Gluten-free option
menu_book Instructions
- 1
In a large bowl, whisk together flour, sugar, salt and baking powder.
- 2
Using a pastry blender or your hands, cut in butter until mixture is crumbly.
- 3
In a small bowl, whisk together egg, buttermilk and vanilla extract.
- 4
Add liquid ingredients and chocolate chips to dry ingredients.
- 5
Sprinkle a small amount of flour onto parchment paper or counter.
- 6
Press dough into an 8 inch circle, about ¾ inch thick.
- 7
Using a sharp knife, cut circle into 8 wedges.
- 8
Place scones in refrigerator for 20 minutes.
- 9
Preheat oven to 400°F.
- 10
Bake scones for 20 to 25 minutes or until golden brown.
- 11
In a small bowl, whisk together powdered sugar, milk and vanilla extract until smooth.
- 12
Drizzle the tops of each scone generously with vanilla glaze.
- 13
Store scones in airtight container at room temperature for up to 3 days.
monitoring Nutrition Facts (per serving)
Ratings & Reviews
Be the first to review this recipe!