Lemon Lavender Spring Cake with Floral Flavor and Zest
“Enjoy a delightful Lemon Lavender Spring Cake, perfect for breakfast. This recipe includes fresh lemon juice and culinary lavender for a unique twist.”
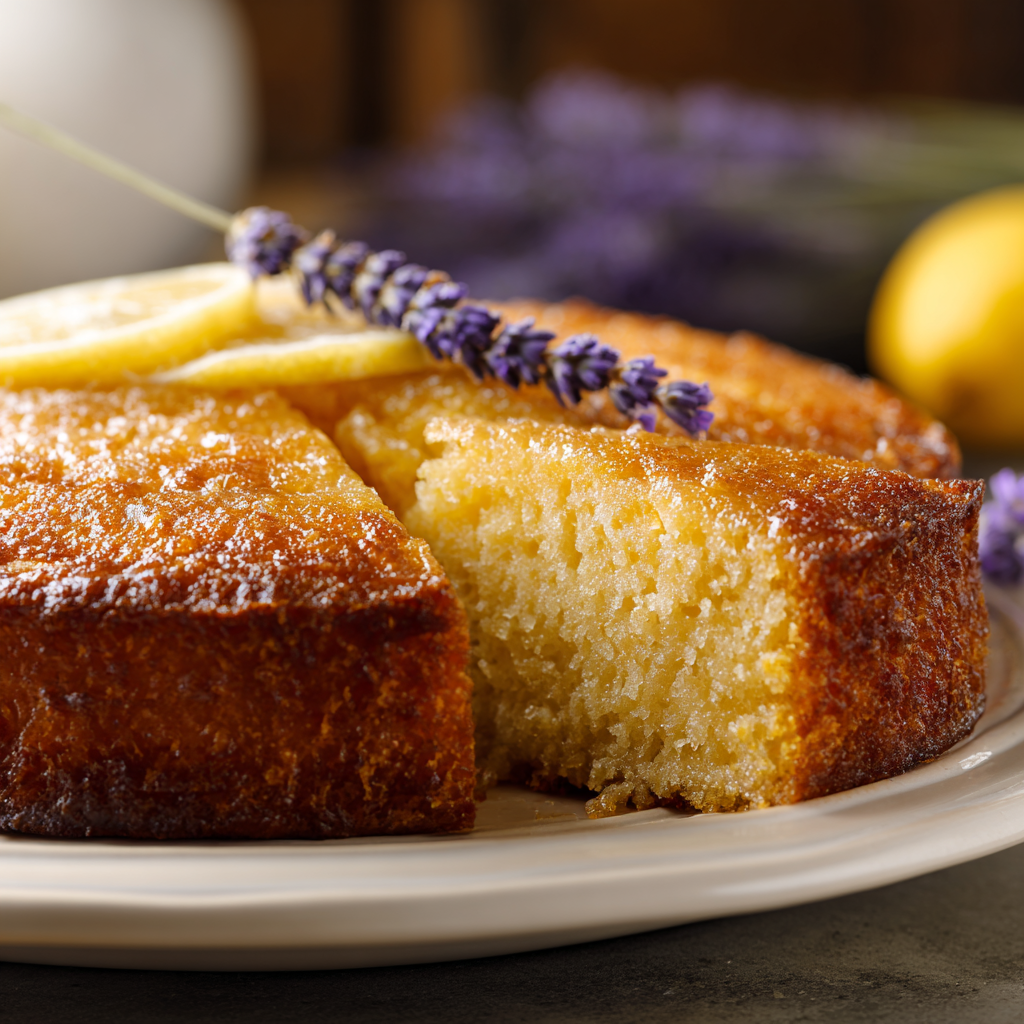
Last spring, I stumbled upon a quaint little café with a Lemon Lavender Spring Cake that instantly transported me to a sun-drenched garden. The moment I took a bite, the bright zing of lemon mingled with the delicate floral notes of lavender, and I knew I had to recreate this treat at home.
This recipe captures that magic while adding a twist with a light, airy texture that melts in your mouth. The combination of citrus and floral makes it a perfect centerpiece for any spring gathering, and trust me, it’s worth every minute spent baking!
Why This Recipe Works
Ingredients
What You'll Need
- 1.75 cups all-purpose flourBe sure to sift before measuring to avoid lumps and ensure a light texture.
- 1 cup granulated sugarThis adds a lovely sweetness and helps with browning.
- 0.5 cups unsalted butterSoftened to room temperature for easy mixing and a tender cake.
- 3 large eggsAdds richness and moisture, making the cake beautifully fluffy.
- 0.5 cups milkUse whole milk for a richer flavor, but 2% works too.
- 2 tablespoons fresh lemon juiceThis brightens the flavor and complements the lavender beautifully.
- 2 tablespoons lemon zestAdds a sunny fragrance that enhances the lemon flavor.
- 1 tablespoon culinary lavenderMake sure it’s culinary lavender for safety and flavor; it gives a unique floral aroma.
- 2 teaspoons baking powderEssential for leavening, helping the cake rise perfectly.
- 0.5 teaspoon saltBalances the sweetness and enhances all the flavors.
- 1 cup powdered sugarThis is for the glaze, giving it that sweet, creamy finish.
- 2 tablespoons fresh lemon juiceUsed in the glaze, it adds a fresh tangy punch.
- 1 teaspoon lemon zestFor extra zing in the glaze, making it even more delicious.
When shopping, look for high-quality culinary lavender, as it can make all the difference in taste. I love using organic ingredients whenever possible, especially for the eggs and butter, to ensure a rich flavor. For the flour, any good all-purpose brand will do!
Easy Substitutions
- Dairy-free: Substitute the butter with coconut oil and the milk with almond or oat milk. This will change the texture slightly, making it a bit denser, but still delicious!
- Gluten-free: Use a gluten-free all-purpose flour blend. The cake might be a touch more crumbly, so be gentle when mixing.

How to Make This Recipe
Preparing the Batter
Start by preheating your oven to 350°F (175°C). This temperature is key for achieving a perfectly baked cake that’s golden on the outside and soft inside.
In a mixing bowl, cream together softened butter and granulated sugar until the mixture is light and fluffy. You should see a pale yellow color and feel a soft texture, which means you’re incorporating air for a tender cake.
Add the eggs one at a time, making sure each one is fully blended in before adding the next. This helps create an emulsion that keeps your cake moist. You’ll notice the batter becomes smoother and richer with each egg.
Stir in the milk, lemon zest, lemon juice, and culinary lavender. The aroma of the lavender is intoxicating, and the zest will add a pop of brightness to your mixture. Mix until everything is well combined.
Baking and Glazing
In another bowl, whisk together the flour, baking powder, and salt. This step ensures the leavening agent is evenly distributed for a uniform rise.
Gradually add the dry ingredients to the wet mixture, stirring gently until just combined. Be careful not to overmix, as this can lead to a dense cake.
Pour the batter into a greased cake pan. You’ll see the mixture is thick and smooth, just waiting to rise in the oven. Bake for about 30 minutes, or until a toothpick inserted into the center comes out clean.
Once baked, allow the cake to cool completely in the pan. The aroma wafting through your kitchen will be delightful, and you’ll want to give it time to set before glazing.
For the glaze, whisk together powdered sugar, lemon juice, and zest until smooth. You want a thick but pourable consistency; if it’s too runny, add more sugar.
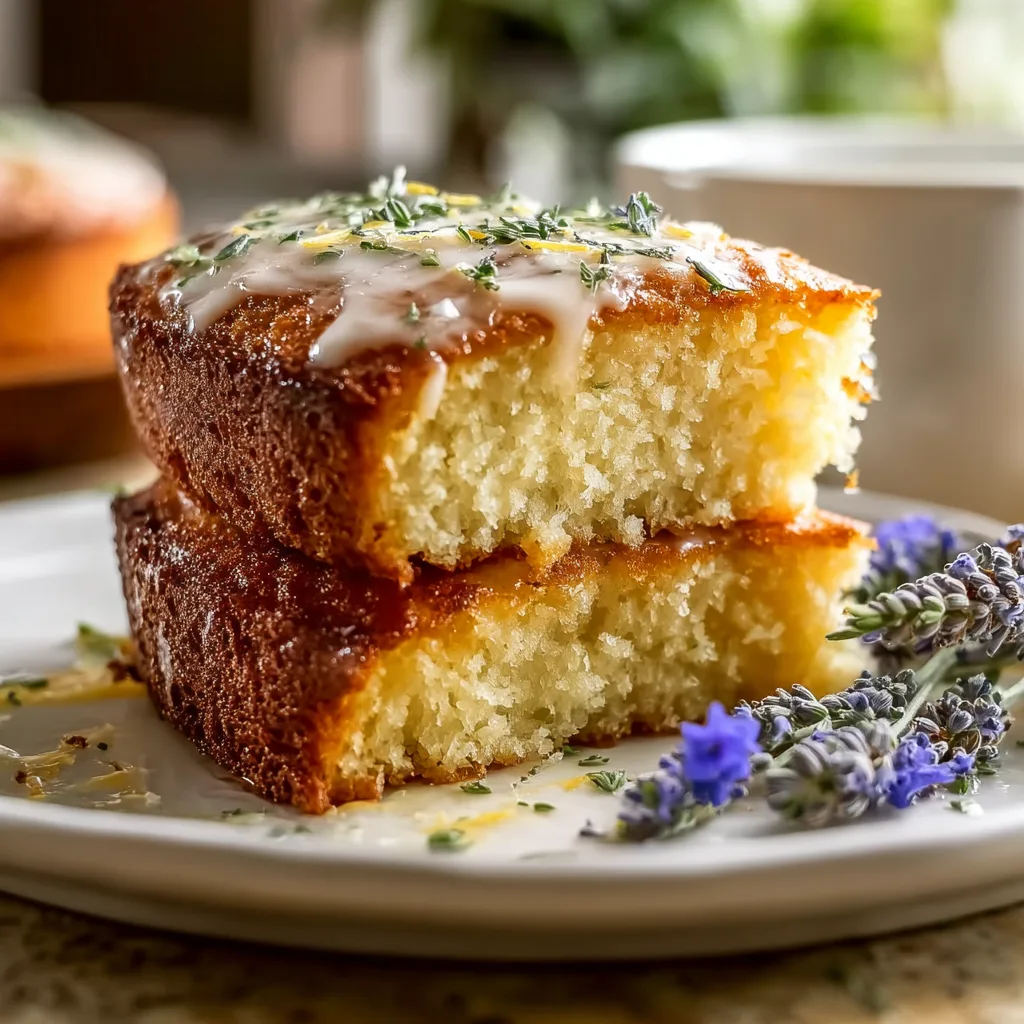
Once the cake has cooled, drizzle the glaze over the top, letting it cascade down the sides. It adds a beautiful sheen and a tangy sweetness that complements the cake perfectly. Slice and serve!
Tips & Tricks
Butter Temperature Matters
Using softened butter is crucial for achieving that lovely fluffy texture. I once made the mistake of using cold butter, thinking it would blend just fine, but ended up with a dense cake. Allow your butter to sit out for about 30 minutes before you start. You want it soft enough to leave a slight indentation when pressed but not melted. Trust me, it makes all the difference!
Infusing Flavor with Lavender
For a more pronounced lavender flavor, consider infusing your milk before adding it to the batter. Just heat the milk gently and stir in the culinary lavender, letting it steep for about 10-15 minutes. Strain it out before mixing in. I tried this once, and the aroma that filled my kitchen was pure bliss!
Zest for Extra Zing
Don't skimp on the lemon zest! The zest adds a vibrant pop of flavor that brightens the cake, making it truly refreshing. I always use a microplane to get the finest zest without the bitter white pith. It’s a small step, but it enhances the overall taste of your Lemon Lavender Spring Cake.
Pro Tips
While dried culinary lavender is often used, fresh lavender can enhance your Lemon Lavender Spring Cake with a subtler, more aromatic flavor. Just be sure to finely chop the fresh flowers to distribute the flavor evenly throughout the batter.
Ovens can vary, so keep an eye on your cake as it bakes. Start checking for doneness a few minutes before the suggested baking time by inserting a toothpick in the center; it should come out clean or with a few moist crumbs.
Once your cake is done, allow it to cool in the pan for about 10-15 minutes before transferring it to a wire rack. This helps prevent it from breaking apart while still warm, ensuring a perfect presentation when you slice it.
Variations & Customizations
Flavor Twists
Honey Citrus Lemon Lavender Spring Cake
Swap out the granulated sugar for ¾ cup of honey and reduce the milk to ⅓ cup. The honey adds a natural sweetness that complements the floral notes of the lavender beautifully, creating a cake that's both moist and fragrant. You’ll notice a richer, more complex flavor profile with a lovely golden hue.
Berry Bliss Lemon Lavender Spring Cake
Fold in 1 cup of mixed berries (like blueberries and raspberries) into the batter before baking. The tartness of the berries cuts through the sweetness, and their vibrant colors make for a stunning presentation. This version is bright, juicy, and perfect for a spring celebration.
Seasonal Versions
Autumn Spice Lemon Lavender Spring Cake
Incorporate 1 teaspoon of ground cinnamon and ½ teaspoon of nutmeg into the dry ingredients. This variation introduces warm spice notes that balance beautifully with the lemon and lavender. The cake takes on a cozy aroma, making it perfect for fall gatherings.
Chocolate-Dipped Lemon Lavender Spring Cake
After glazing the cake, melt 4 ounces of dark chocolate and drizzle it on top. The rich chocolate contrasts with the bright lemon and floral lavender, creating a pleasureful combination that’s as beautiful as it is delicious. Perfect for those who adore chocolate!
Storage & Meal Prep
How to Store
Room Temperature
If you plan to enjoy your Lemon Lavender Spring Cake within a day or two, you can keep it at room temperature. Just wrap it in plastic wrap or store it in an airtight container to prevent it from drying out. But don’t let it sit too long—after about two days, it starts to lose that lovely freshness.
Refrigerator
For longer storage, pop your cake in the fridge where it can last for about 5 days. Make sure it’s in an airtight container or properly wrapped to maintain moisture. If left uncovered, it can become dry and lose its delightful texture.
Freezer
You can freeze the Lemon Lavender Spring Cake for up to 3 months. Wrap individual slices or the whole cake tightly in plastic wrap, then foil, to protect it from freezer burn. When you're ready to enjoy, let it thaw overnight in the fridge or at room temperature for a couple of hours.
Meal Prep
For an easy meal prep strategy, consider making this cake on a Sunday. You can slice it into portions and store them in individual containers, ready to grab for a sweet treat throughout the week. If you need to reheat a slice, just pop it in the microwave for about 10-15 seconds, and enjoy that fresh-baked aroma all over again!
Equipment You'll Need
Essential
Stand Mixer or Hand Mixer
A stand mixer is ideal for creaming the butter and sugar until light and fluffy, giving your cake that perfect airy texture. A hand mixer works just as well but may require a bit more effort and time to achieve the same consistency.
Cake Pan
Using a 9-inch round cake pan ensures even baking and easy release from the pan. A glass pan can work, but you might need to adjust bake times since it heats differently than metal.
Nice to Have
Food Scale
Weighing your ingredients can lead to more precise measurements, especially with flour. This can make a noticeable difference in the cake's texture, preventing it from being too dense or crumbly.
Frequently Asked Questions
Can I use dried lavender instead of fresh for the Lemon Lavender Spring Cake?
Yes, dried lavender works well, but use it sparingly. A teaspoon of dried lavender can provide a similar flavor without overpowering the cake.
Why did my Lemon Lavender Spring Cake turn out dry?
Dryness can occur if the cake is overbaked or if there's too much flour. Ensure you measure your flour accurately and check for doneness a few minutes early.
How can I make the Lemon Lavender Spring Cake more citrusy?
To enhance the citrus flavor, add more lemon zest or a splash of lemon juice to the batter. You can also drizzle a lemon glaze over the top for an extra zing.
What can I substitute for butter in the Lemon Lavender Spring Cake?
You can use coconut oil or unsweetened applesauce as a butter substitute. Keep in mind that this may slightly alter the texture and flavor of the cake.
How should I store the Lemon Lavender Spring Cake?
Store the cake in an airtight container at room temperature for up to three days. For longer storage, refrigerate it for up to a week or freeze slices for up to three months.
The Lemon Lavender Spring Cake is a refreshing treat that perfectly captures the essence of spring, with its bright citrus notes and soothing floral aroma. For the best results, let it cool completely before frosting to ensure a smooth finish.
Give this recipe a try and don’t forget to share your thoughts in the comments or pin it for later!
Lemon Lavender Spring Cake
A delightful spring cake infused with lemon and lavender flavors, perfect for any occasion.
checklist Ingredients
- 1.75 cups all-purpose flour
- 1 cup granulated sugar
- 0.5 cups unsalted butter
- 3 large eggs
- 0.5 cups milk
- 2 tablespoons fresh lemon juice
- 2 tablespoons lemon zest
- 1 tablespoon culinary lavender
- 2 teaspoons baking powder
- 0.5 teaspoon salt
- 1 cup powdered sugar
- 2 tablespoons fresh lemon juice
- 1 teaspoon lemon zest
- 1 substitution Dairy-free option: coconut oil
- 1 substitution Gluten-free option: gluten-free flour
menu_book Instructions
- 1
Preheat your oven to 350°F (175°C).
- 2
Cream together the softened butter and granulated sugar until light and fluffy.
- 3
Beat in the eggs one at a time, ensuring each is incorporated before adding the next.
- 4
Stir in the milk, lemon zest, lemon juice, and culinary lavender until well combined.
- 5
In another bowl, whisk together the flour, baking powder, and salt.
- 6
Gradually add the dry ingredients to the wet mixture, mixing until just combined.
- 7
Pour the batter into a greased cake pan.
- 8
Bake for about 30 minutes, or until a toothpick inserted comes out clean.
- 9
Allow the cake to cool completely.
- 10
Whisk together the powdered sugar, lemon juice, and zest until smooth.
- 11
Once the cake is cool, drizzle the glaze over the top.
monitoring Nutrition Facts (per serving)
Ratings & Reviews
Be the first to review this recipe!